
John and Abigail Adams helped build a nation with their minds, their letters, and—quietly but powerfully—their kitchen. Together, the second president and the first First Lady to live in the White House embodied a “Presidential Appetite” rooted not in luxury, but in New England simplicity: bubbling apples under a dowdied crust, and hearty boiled dinners that could feed a household and a revolution.
The Adamses: Brains, Backbone, and a New Republic
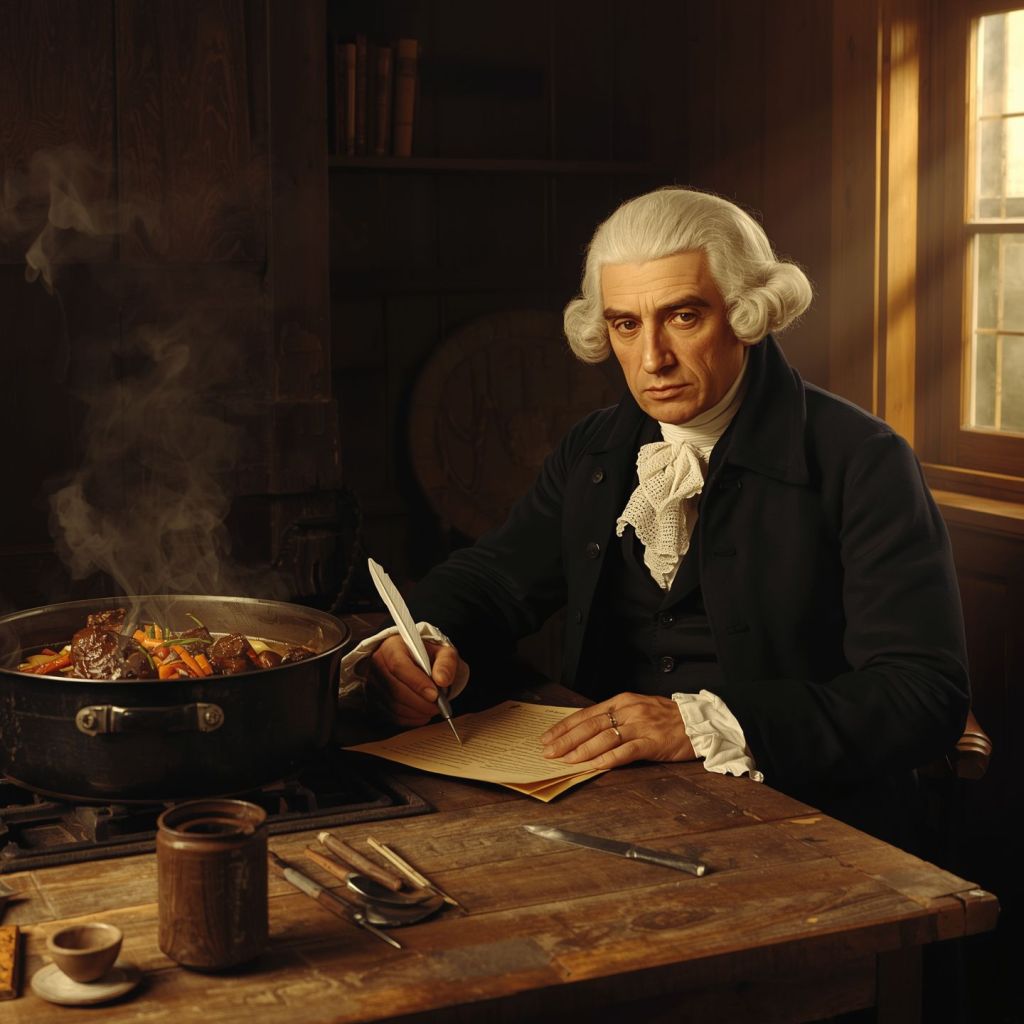
John Adams was born in 1735 in Braintree (now Quincy), Massachusetts, the son of a farmer who became a lawyer, revolutionary, and ultimately the second president of the United States. He honed his reputation by defending British soldiers after the Boston Massacre—an unpopular act that showed his deep belief in the rule of law even as he became one of Britain’s fiercest critics. In the Continental Congress, Adams emerged as a driving force behind independence, pushing the colonies toward the fateful vote that would sever ties with the Crown and working closely with Thomas Jefferson on the Declaration of Independence.
After independence, John shifted from fiery orator to tireless diplomat, helping negotiate the Treaty of Paris and serving as America’s first minister to Great Britain. He wrote the Massachusetts Constitution, an influential model for the federal Constitution, especially in its emphasis on checks and balances and separated powers. As the nation’s first vice president under George Washington and then as president from 1797 to 1801, Adams steered the fragile republic through international tensions with France, expanding the navy and choosing negotiation over full-scale war, even when it cost him politically.
Abigail Adams, born in 1744 in Massachusetts, matched John’s intellect with her own sharp mind and formidable pen. She managed the family farm, raised children often alone while John was away, and maintained a remarkable correspondence with him that gives historians one of the clearest windows into the founding generation. In those letters she pushed for women’s education and famously urged John to “remember the ladies,” making her an early and unmistakable voice for women in the new republic.
When John became president, Abigail became the first First Lady to occupy the still-unfinished White House. She brought to it the habits of a New England household: efficient, orderly, frugal, focused more on substance than ceremony. While foreign diplomats might have expected a courtly spread, what they encountered instead was a presidential home that felt like an enlarged farm kitchen—practical, hospitable, and anchored in the food of her upbringing.
Presidential Appetite: What the Adams Ate
If George Washington’s table is remembered for hoe cakes and Jefferson’s for French-inspired fare, the Adams table tells a different story: sturdy, local, and unfussy. John Adams was closely associated with New England staples—apple dishes in particular, and hearty meals like New England boiled dinners that made the most of preserved meats and root vegetables. He grew up in a culture where cider could appear even at breakfast and where apples, cabbage, potatoes, and salted beef were the backbone of the family diet.
Abigail Adams’s apple pan dowdy became legendary in later retellings: a rustic apple dessert baked in a pan, its crust deliberately “dowdied” by breaking and pressing it down into the bubbling fruit. It draws on ingredients that were foundational to an 18th‑century New England pantry—apples from the orchard, molasses from Atlantic trade, flour and fat from the farm. Nothing about it is ornamental; everything about it is comforting and efficient.
New England boiled dinner—a pot of corned beef simmered with potatoes, carrots, cabbage, and other roots—captures the same ethos on the savory side. It begins with preserved meat, stretches it with vegetables, and feeds many from a single pot, a perfect metaphor for a frugal, community-minded republic. Imagining the Adams family gathered around such a meal, you can almost feel the transition from talk of planting and weather to talk of constitutions and treaties.
In our Presidential Appetite’s series, the Adams home stands out not for extravagance but for how directly their food mirrors their politics: grounded in locality, suspicious of ostentation, and designed to sustain ordinary people doing extraordinary civic work.
Abigail Adams’s Apple Pan Dowdy
This modern-friendly recipe stays close in spirit to the historical versions attributed to Abigail Adams. It’s a deep-dish apple dessert with a top crust that’s deliberately broken and pushed into the fruit, giving you a tangle of pastry and spiced apples in a glossy molasses-kissed syrup.
Ingredients
Pastry
1 1/2 cups all-purpose flour
1/2 cup shortening (or half shortening, half butter)
1/4 teaspoon salt
3–4 tablespoons ice water
1/4 cup butter, melted (for brushing/layering)
Apple filling
10 medium tart apples (like Granny Smith), peeled, cored, sliced
1/2 cup granulated sugar
1/2 teaspoon ground cinnamon
1/4 teaspoon ground nutmeg
1/4 teaspoon salt
1/4 cup molasses
3 tablespoons butter, melted
1/4 cup water
Make the pastry
Stir together flour and salt. Cut in the shortening (or shortening and butter) until you have coarse crumbs.Sprinkle in ice water, 1 tablespoon at a time, just until the dough holds together when pressed.
Roll the dough into a rectangle about 1/4 inch thick. Brush with some melted butter, cut in half, stack, roll lightly; repeat the cut-and-stack process a few times to create rough layers.
Press into a disk, wrap, and chill for about 1 hour.
Divide the chilled dough into two portions. Roll one to fit the bottom and sides of an 8–9 inch deep pie dish or similar baking dish. Roll the second for the top crust and keep it chilled while you prepare the filling.
Filling, assembly, and “dowdying”
Heat oven to 400°F (200°C).
Toss sliced apples with sugar, cinnamon, nutmeg, and salt.In a small bowl, mix molasses, melted butter, and water.
Place the apples in the pastry-lined dish and pour the molasses mixture evenly over them.
Lay the top crust over the apples and seal the edges, crimping with your fingers or a fork.
Bake at 400°F for about 10 minutes to set the crust, then reduce oven temperature to 325°F (165°C) and bake another 10–15 minutes until the crust is firm but not fully browned.
Open the oven and, using a sharp knife, cut down through the top crust in several places, gently pushing pieces of crust into the apples so juices can bubble up over the pastry.
Continue baking at 325°F for about 45–50 minutes, until the apples are very tender and the filling is bubbling through the broken crust.
Let rest at least 15–20 minutes so the juices thicken slightly. Serve warm.
How to serve it like the Founding era: bring the baking dish straight to the table, spoon it out in generous, imperfect scoops, and pass a small pitcher of cream or a bowl of softly whipped cream.
Extra authenticity points if you pair it with coffee, tea, or warm cider, and serve on simple earthenware rather than anything too fancy.
John Adams’s New England Boiled Dinner
To round out this Presidential Appetite, pair Abigail’s dessert with a main course that would have felt right at home on the Adams table: a classic New England boiled dinner.
Ingredients
3–4 pounds corned beef brisket (with spice packet, if included)Water to cover
2 bay leaves
8–10 whole black peppercorns
4–6 medium carrots, peeled and cut into large chunks
4–6 medium potatoes, peeled and halved1 small turnip or rutabaga, peeled and cut into chunks (optional but traditional)
2–3 parsnips, peeled and cut into chunks (optional)
1 small head green cabbage, cut into wedgesSalt and pepper to tasteButter, vinegar, and mustard for servingInstructions
Rinse the corned beef under cold water to remove excess surface brine. Place it in a large pot and cover with water by 1–2 inches. Add bay leaves and peppercorns.
Bring to a boil, then reduce to a gentle simmer. Cover and cook for 2 1/2–3 hours, until the meat is very tender, skimming foam as needed.
About 45 minutes before the beef is done, add carrots, potatoes, turnip/rutabaga, and parsnips. Make sure they’re mostly submerged; add hot water if needed.
About 20 minutes before the end, add the cabbage wedges on top. Cover and simmer until all vegetables are tender.
Remove the beef and let it rest 10–15 minutes before slicing across the grain.
Use a slotted spoon to transfer vegetables to a platter and arrange the sliced beef alongside.
Taste the broth and adjust seasoning; drizzle a little over the platter if desired.
Serve with butter, vinegar, and mustard at the table.
How Their Food Reflects Their America
The Adamses believed in a republic built on restraint, law, and the everyday labor of ordinary people, not on grandiose displays. Their food tells the same story. Apple pan dowdy uses local apples, a basic dough, and a touch of molasses—nothing imported to impress, everything designed to nourish. New England boiled dinner takes preserved beef and humble vegetables and turns them into a communal meal that can feed a household and whoever else happens to be at the table.
In an era when the young United States was deciding whether it would follow European models of aristocratic splendor, the Adams home quietly argued for a different path: a presidency that could sit comfortably beside a farmhouse stove. When you simmer a pot of corned beef and vegetables, then finish the evening with a warm apple pan dowdy and cream, you’re not just cooking from history—you’re tasting the values that shaped it.
.
